Ever wondered how to turn your Raspberry Pi into a powerhouse for remote IoT projects? Well, you're in the right place, buddy. In this Raspberry Pi Remote IoT tutorial, we'll dive deep into everything you need to know to set up, deploy, and manage IoT systems remotely. Whether you're a beginner or a seasoned techie, this guide has got your back. Let's get started and make your tech dreams a reality!
Remote IoT projects have become super popular lately, and for good reason. Imagine controlling smart devices, monitoring sensors, or even automating your home—all from miles away. With Raspberry Pi, you can do all that and more. This tiny but mighty device is like the Swiss Army knife of tech enthusiasts, and today, we're going to show you how to harness its full potential.
Now, before we jump into the nitty-gritty, let me tell you something cool. This Raspberry Pi Remote IoT tutorial isn't just another tech guide. It's designed to be easy to follow, packed with practical tips, and sprinkled with a bit of humor to keep things light. So, whether you're building a weather station, a remote camera, or even a smart garden, you'll find everything you need right here.
- Conan Obrien Family A Closer Look Into The Life Beyond The Latenight Spotlight
- Laci Peterson The Untold Story That Keeps Us Guessing
Why Raspberry Pi for Remote IoT Projects?
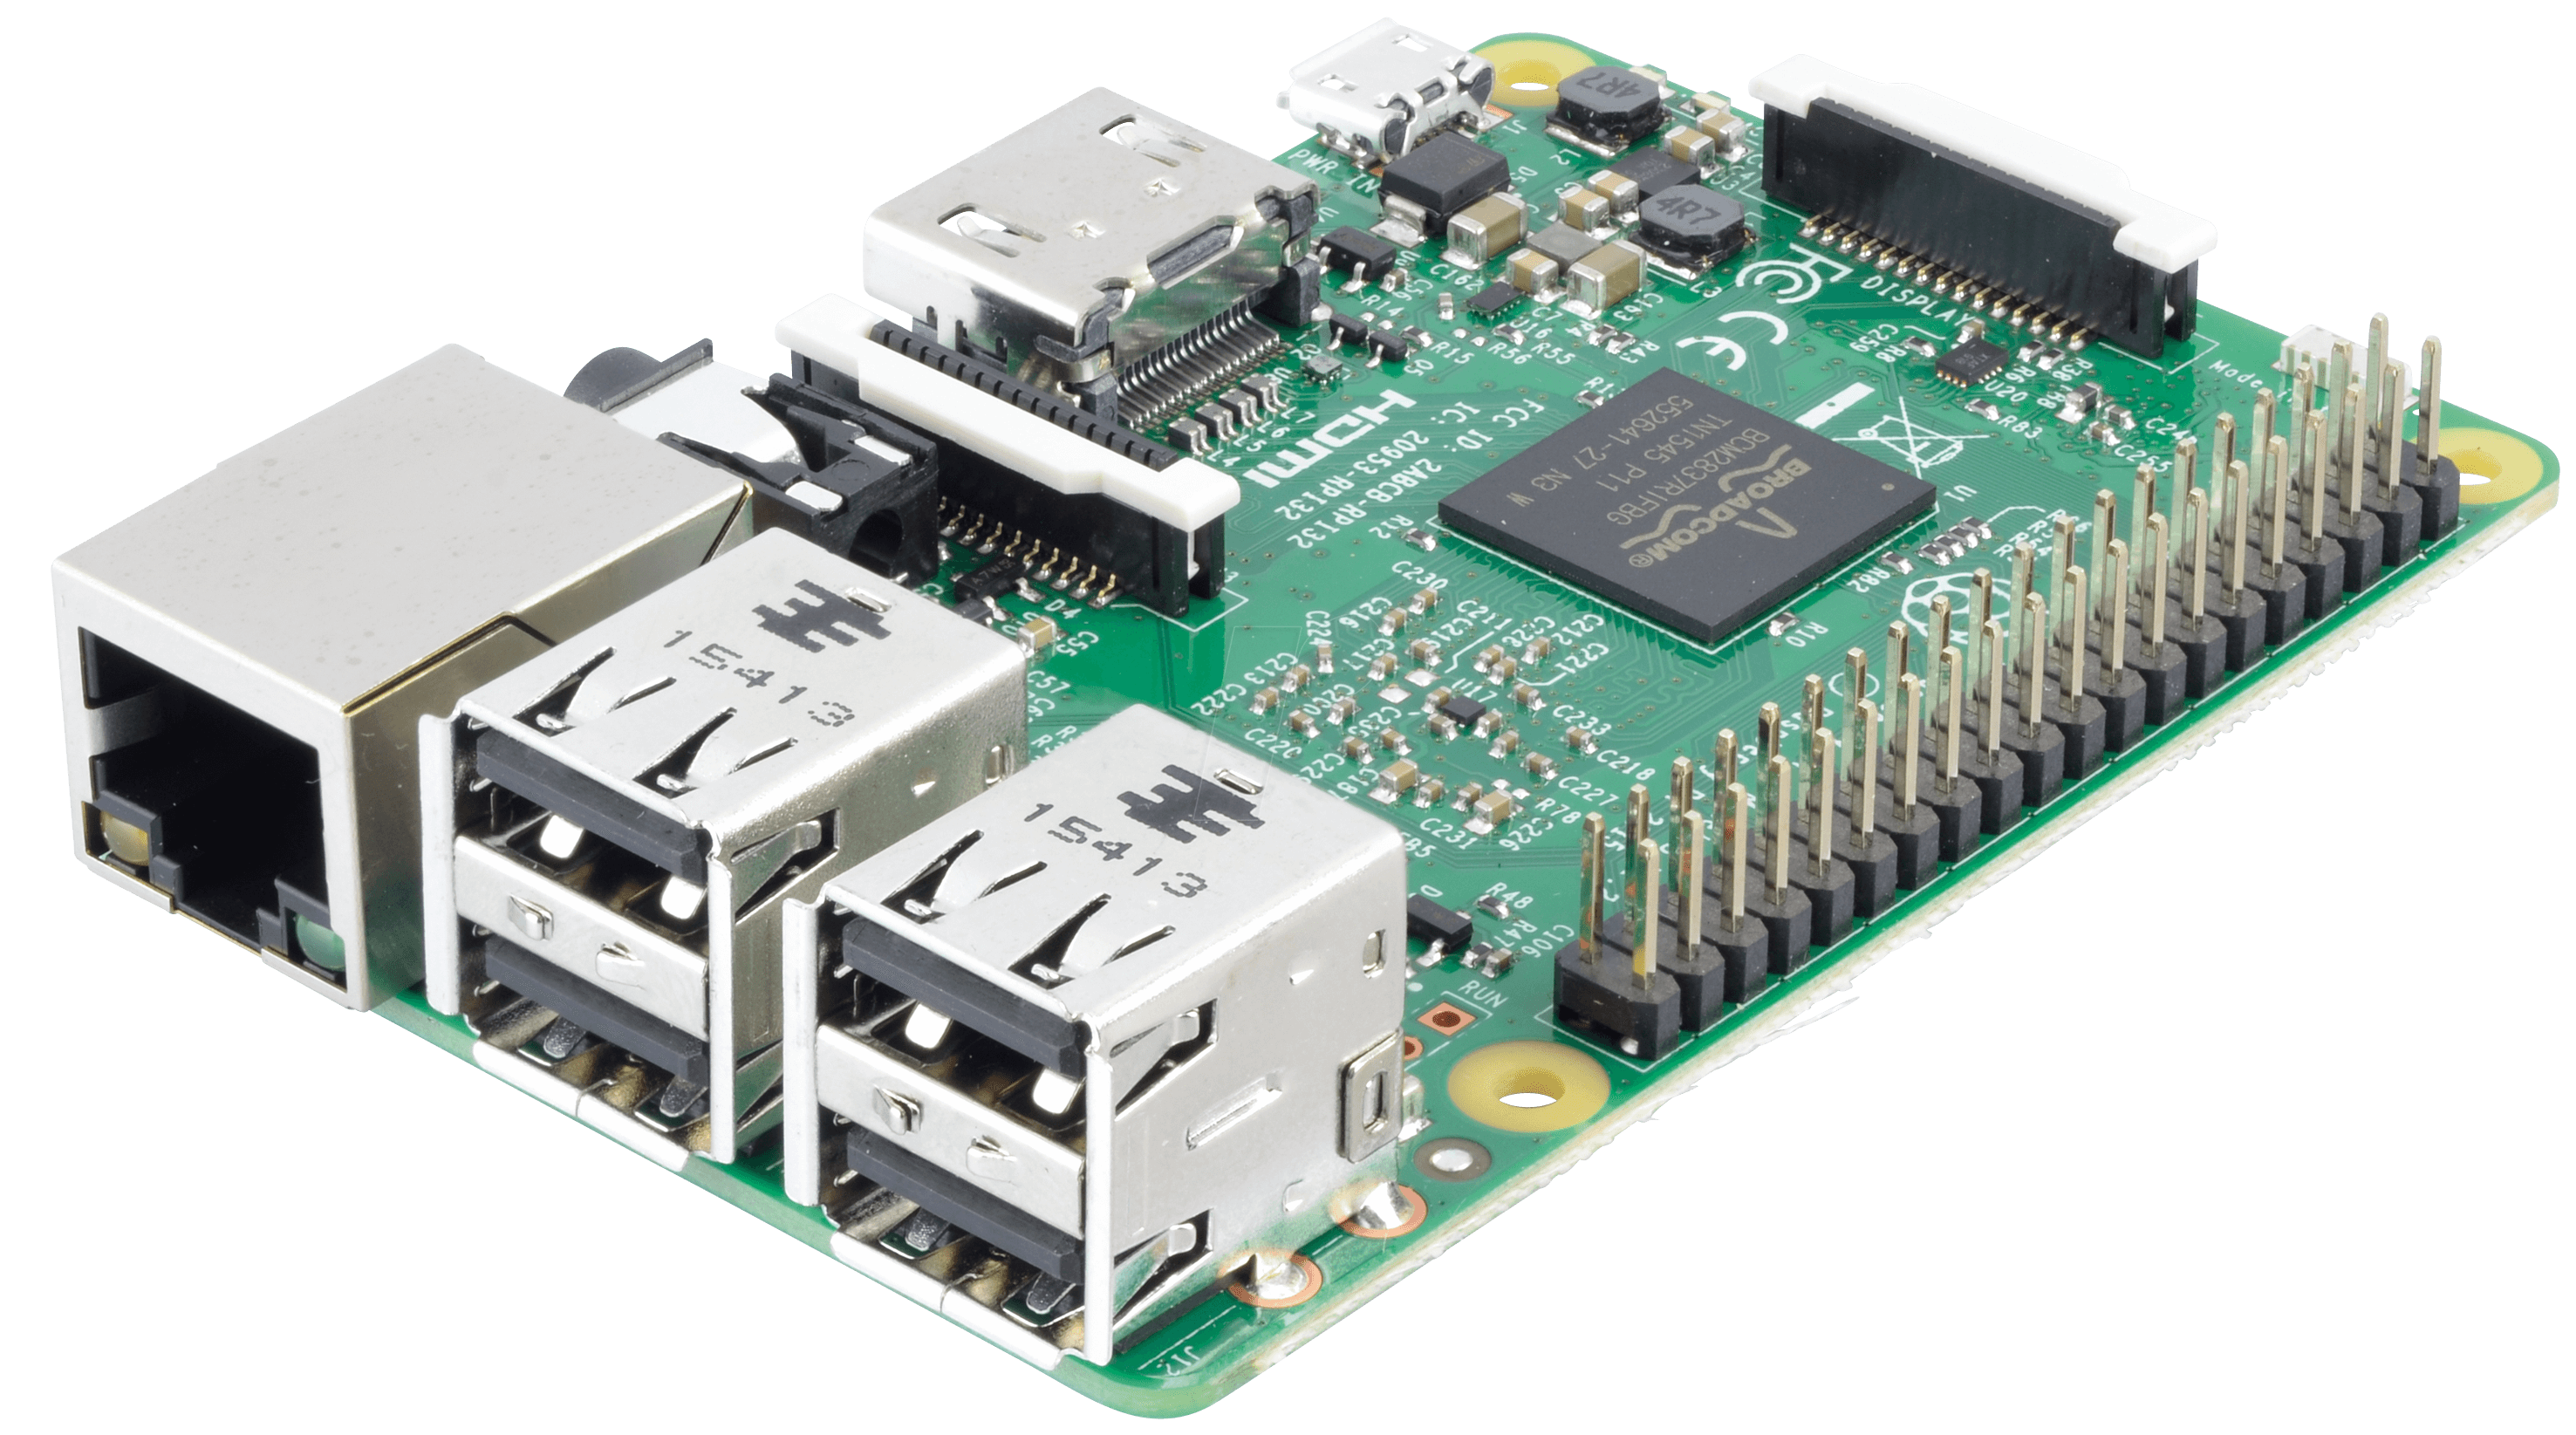
Let's face it, there are plenty of options when it comes to IoT hardware, but Raspberry Pi stands out for a reason. First off, it's affordable, which is always a win in my book. Secondly, it's super versatile, meaning you can use it for a wide range of projects, from simple home automations to complex industrial applications. And last but not least, it has an awesome community of users who are always ready to help out with tips and tricks.
When it comes to remote IoT, Raspberry Pi really shines. Its ability to connect to Wi-Fi, Bluetooth, and even cellular networks makes it perfect for projects that require remote access. Plus, with its Linux-based operating system, you have tons of flexibility when it comes to programming and customization.
Setting Up Your Raspberry Pi for Remote IoT
What You'll Need
Before you start tinkering, make sure you've got all the necessary gear. Here's a quick list of what you'll need:
- Richard Pryor Comics The Legacy Of Laughter And Truth
- Hugh Grants Children The Story Behind The Scenes
- Raspberry Pi (any model will do, but Pi 4 is recommended)
- MicroSD card (at least 16GB)
- Power supply
- Wi-Fi or Ethernet connection
- SSH client (like PuTTY for Windows or Terminal for Mac/Linux)
Having all these essentials will make your setup process a whole lot smoother. Trust me, nothing's worse than realizing halfway through that you're missing a crucial piece of equipment.
Installing the OS
Now that you've got everything you need, it's time to install the operating system. For most IoT projects, Raspberry Pi OS Lite is the way to go. It's lightweight and perfect for headless setups, meaning you don't need a monitor or keyboard attached to your Pi.
Here's a quick step-by-step guide to installing the OS:
- Download Raspberry Pi Imager from the official website.
- Select the Raspberry Pi OS Lite image.
- Insert your MicroSD card into your computer and select it in the Imager.
- Click "Write" and wait for the process to complete.
Once the OS is installed, you're ready to move on to the next step.
Connecting to Your Raspberry Pi Remotely
Enabling SSH
SSH (Secure Shell) is the key to accessing your Raspberry Pi remotely. To enable it, you'll need to create a file called "ssh" (no extension) in the boot partition of your MicroSD card. Here's how:
- Insert the MicroSD card into your computer.
- Open the boot partition and create a new text file.
- Name the file "ssh" and save it with no extension.
That's it! Your Raspberry Pi will now have SSH enabled by default when it boots up.
Finding Your Pi's IP Address
Once your Pi is connected to your network, you'll need to find its IP address. There are a few ways to do this:
- Check your router's admin page for a list of connected devices.
- Use a network scanning tool like Fing or Angry IP Scanner.
- Connect a monitor and keyboard to your Pi and use the "ifconfig" command.
Having the correct IP address is crucial for establishing a remote connection, so take your time to get it right.
Securing Your Raspberry Pi Remote IoT Setup
Changing Default Credentials
Security should always be a top priority, especially when dealing with remote access. The first thing you should do is change the default username and password for your Raspberry Pi. Here's how:
- Log in to your Pi via SSH using the default credentials (pi/raspberry).
- Use the "passwd" command to change the password.
- Run the "sudo raspi-config" command and change the username if desired.
By doing this, you'll make it much harder for unauthorized users to gain access to your Pi.
Setting Up a Firewall
A firewall is another great way to protect your Raspberry Pi from unwanted intrusions. The easiest way to set one up is by using the "ufw" (Uncomplicated Firewall) tool. Here's how to install and configure it:
- Install ufw by running "sudo apt install ufw".
- Allow SSH access with "sudo ufw allow ssh".
- Enable the firewall with "sudo ufw enable".
With these simple steps, you'll have an extra layer of protection for your remote IoT setup.
Deploying Your First Remote IoT Project
Choosing the Right Project
Now that your Raspberry Pi is all set up and secure, it's time to choose your first remote IoT project. Here are a few ideas to get you started:
- Smart Home Automation: Control lights, thermostats, and more from anywhere.
- Remote Weather Station: Monitor temperature, humidity, and other environmental factors.
- Surveillance Camera: Set up a remote camera to keep an eye on your property.
Remember, the sky's the limit with Raspberry Pi, so don't be afraid to think outside the box.
Programming Your IoT Device
Once you've decided on a project, it's time to start coding. Python is the go-to language for most Raspberry Pi projects, thanks to its simplicity and powerful libraries. Here are a few libraries you might find useful:
- GPIO Zero: For controlling GPIO pins.
- Adafruit IO: For cloud-based IoT services.
- Flask: For creating web interfaces.
With these tools at your disposal, you'll be able to create some truly amazing IoT applications.
Advanced Topics in Raspberry Pi Remote IoT
Setting Up a Static IP Address
Having a static IP address can make managing your remote IoT setup much easier. Here's how to set one up:
- Log in to your Pi via SSH.
- Edit the dhcpcd configuration file with "sudo nano /etc/dhcpcd.conf".
- Add the following lines, replacing the placeholders with your desired settings:
interface eth0
static ip_address=192.168.1.100/24
static routers=192.168.1.1
static domain_name_servers=192.168.1.1
Save the file and reboot your Pi for the changes to take effect.
Using a Remote Desktop
If you prefer a graphical interface, you can set up a remote desktop on your Raspberry Pi. Here's how:
- Install the TightVNC server with "sudo apt install tightvncserver".
- Start the server with "vncserver".
- Connect to your Pi using a VNC client from your computer.
With a remote desktop, you'll have full access to your Pi's graphical interface, making it easier to manage complex projects.
Troubleshooting Common Issues
Can't Connect to Your Pi?
If you're having trouble connecting to your Raspberry Pi remotely, here are a few things to check:
- Make sure your Pi is connected to the same network as your computer.
- Verify that SSH is enabled and the correct IP address is being used.
- Check your firewall settings to ensure SSH traffic is allowed.
By following these steps, you should be able to resolve most connection issues.
Slow Performance?
If your Raspberry Pi seems to be running slowly, there are a few things you can do to improve performance:
- Upgrade to a faster SD card or use a USB drive for storage.
- Disable unnecessary services and processes.
- Optimize your code for better efficiency.
With a few tweaks, you can get your Pi running like a champ.
Conclusion: Your Raspberry Pi Remote IoT Journey Starts Here
And there you have it, folks! A comprehensive Raspberry Pi Remote IoT tutorial to help you get started on your IoT adventures. From setting up your Pi to deploying your first project, we've covered all the essential steps to make your journey as smooth as possible.
So, what are you waiting for? Grab your Raspberry Pi, roll up your sleeves, and start building. And don't forget to share your experiences and creations in the comments below. We'd love to hear about your projects and how this guide helped you along the way. Happy tinkering, and see you in the next one!
Table of Contents
- Why Raspberry Pi for Remote IoT Projects?
- Setting Up Your Raspberry Pi for Remote IoT
- Connecting to Your Raspberry Pi Remotely
- Securing Your Raspberry Pi Remote IoT Setup
- Deploying Your First Remote IoT Project
- Advanced Topics in Raspberry Pi Remote IoT
- Troubleshooting Common Issues
- Conclusion


Detail Author:
- Name : Miss Elda Effertz
- Username : mauricio84
- Email : borer.stanley@hotmail.com
- Birthdate : 1973-05-13
- Address : 69306 Ebert Green Apt. 296 Port Ryleighland, AZ 31366
- Phone : +17067563795
- Company : Beer-Roberts
- Job : Janitor
- Bio : Est laudantium quam aut qui. Inventore enim qui autem ea.
Socials
twitter:
- url : https://twitter.com/rashad_gutmann
- username : rashad_gutmann
- bio : Aut ut necessitatibus pariatur perferendis ut impedit. Repellendus quo iste velit eveniet. Nisi temporibus a praesentium illo.
- followers : 5005
- following : 85
instagram:
- url : https://instagram.com/gutmannr
- username : gutmannr
- bio : Totam tenetur dolores possimus maiores. Non ipsam rerum autem voluptas et hic ex.
- followers : 2801
- following : 163
linkedin:
- url : https://linkedin.com/in/gutmannr
- username : gutmannr
- bio : Quia at fuga et dolorem rerum id.
- followers : 4875
- following : 1233
